The Blawx Code Editor Interface
This page is designed to give you a tour of the Blawx Code Editor, which is the interface in which encodings of legal text and tests are developed.
Main Elements
The main elements of the Code Editor interface are the button bar at the top, the navigation pane on the left, the code editor in the middle, and the output pane on the right.
Button Bar

The Code Editor button bar consists of four buttons:
- Clear - This will delete all code from your coding workspace
- Help - This will open the Blawx Documentation
- Save - This will save the currently selected section's code to the Blawx server
- Exit - This will return you to the Rule screen for the current Rule.
If you are using the Test Editor, there are three additional buttons:
- Run - Runs the test in the test editor, opens up the output pane and displays the results.
- Scenario Editor - Starts Scenario Editor using the current test.
- Delete - Deletes the current test from the Rule, and returns you to the Rule screen.
In the Test Editor, there is also a "Save As" option that can be accessed by clicking on the drop-down arrow on the "Save" button. This allows you to duplicate the current test under a new name in the same project.
Note that if you do not have the permissions required to use a feature, that button will be disabled.
Navigation Pane
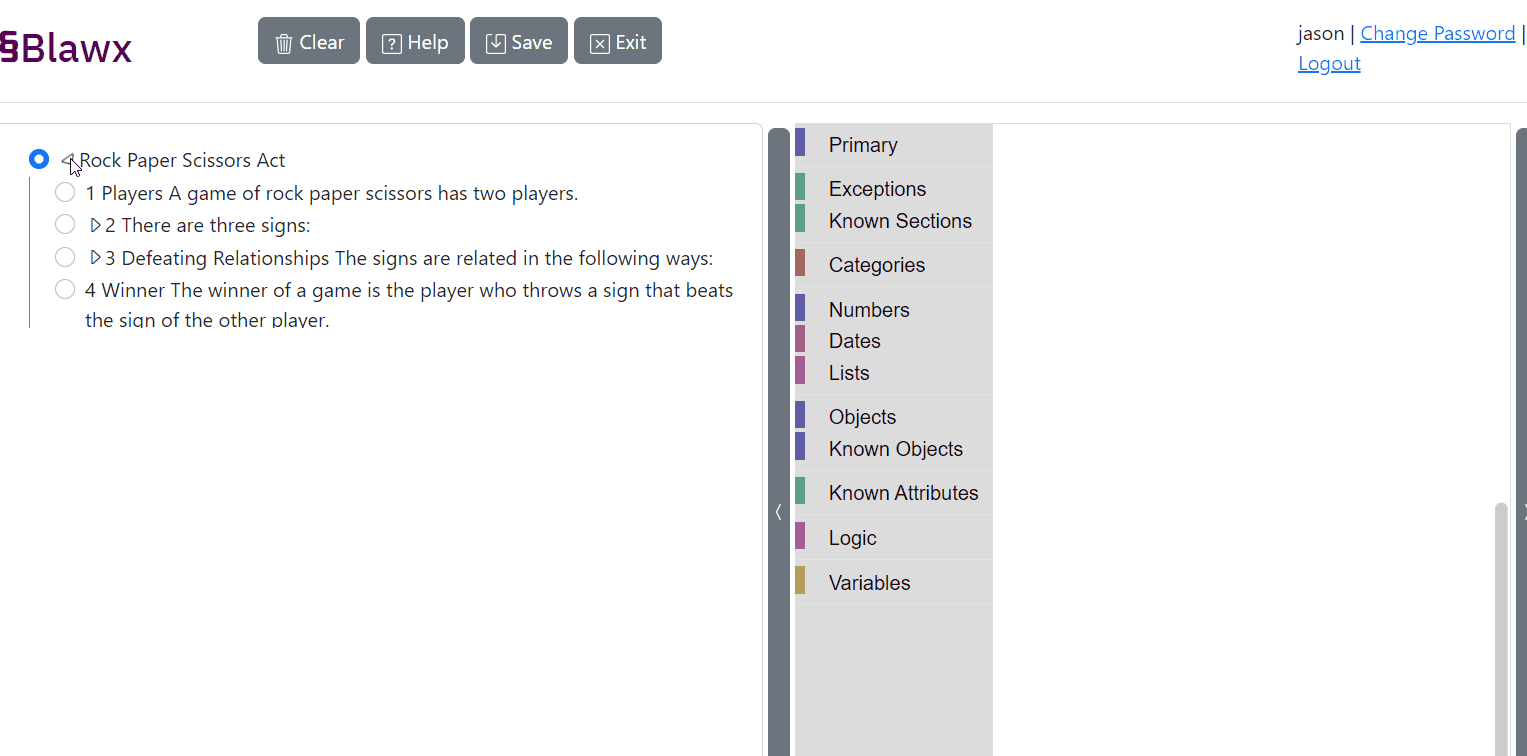
The navigation pane appears on the left of the screen, and can be hidden and revealed by clicking on its right border. It gives you a collapsing nested tree view of the rules you are encoding, and allows you to select the section that you want to encode. When you choose a section selector, the code for that selection, if any, is displayed in the coding workspace.
In the Test Editor, there is no navigation pane.
Output Pane

The output pane appears on the right of the screen, and can be hidden and revealed by clicking on its left border. In the Code Editor, it only shows the s(CASP) code generated by Blawx for the current section of the rule.
In the Test Editor, the output pane has two additional tabs. The "Output" tab shows answers to questions when the test is run, and will be displayed automatically when you click "Run". The "Problems" tab displays raw output from the Blawx reasoner, and it primarily used for troubleshooting.
Code Editor
The Blawx code editor consists of two main sections: the toolbox, and the workspace.
Toolbox

The toolbox appears on the left of the code editor, and shows a list of "drawers". Each drawer can be opened to show its contents, which is a set of blocks that can be used by dragging them into the workspace.
Some drawers may be nested inside one another, in which case a black triangle will appear at the left side of the drawer name. When you click on the outer drawer, the inner drawers are displayed in the toolbox. When you click on an inner drawer, its contents are shown.
All coding is done by dragging blocks from the drawers of the toolbox, placing them on the workspace, configuring their fields, and connecting them to other blocks.
Workspace
The workspace is a canvas on which you can arrange and modify blocks in order to write your code. The only other visual element in the workspace is the Trash Bin.
Note that if you are viewing an encoding that you do not have permissions to change, the workspace will be read-only.
Trash Bin

The trash bin is used to discard blocks that you no longer want on your workspace. This can be done by dragging and dropping blocks into the trash bin, by clicking the Delete key on the keyboard while a block is highlighted, or by deleting blocks using a context menu.
Blocks remain in the trash bin so that if they are deleted accidentally they can be recovered.
Using Blocks
Blocks in the Code Editor can have connectors, which is how blocks are combined, and they can have fields, which is how a single block is configured. There are three different types of block fields used in Blawx: text, number, and drop-down.
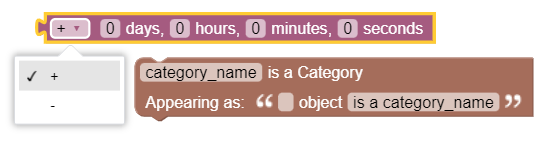
Text fields and number fields are typed into. Drop-down fields allow you to select an option from a list.
To use a block, you drag it from its drawer to the workspace, connect it to other blocks in your workspace, and set the values in its fields as desired. All coding is done using blocks in this way.
Vertical Connectors
Blocks in Blawx can have outside vertical connectors on the top or bottom of the block.
Blocks can also have inside vertical connectors, to make it so that one block can contain a stack of other blocks inside it.

A block with no outside vertical connectors is called an "outer" block, because when you are writing your code, nothing should appear to be connected to its outside.
A block with outside vertical connectors is called a "statement" block. Statement blocks can usually be stacked vertically, and a stack or a single block can be connected to an internal vertical connector.
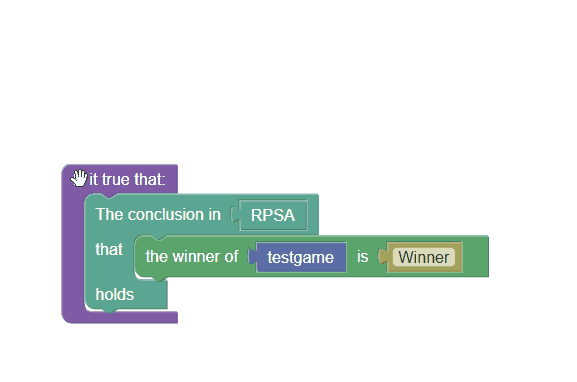
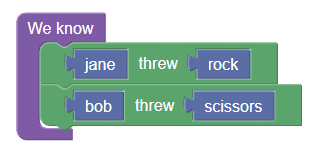
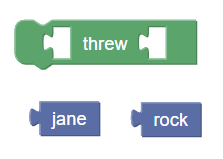
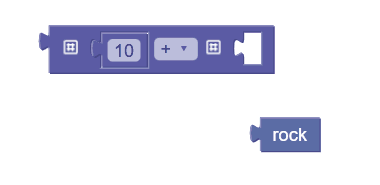
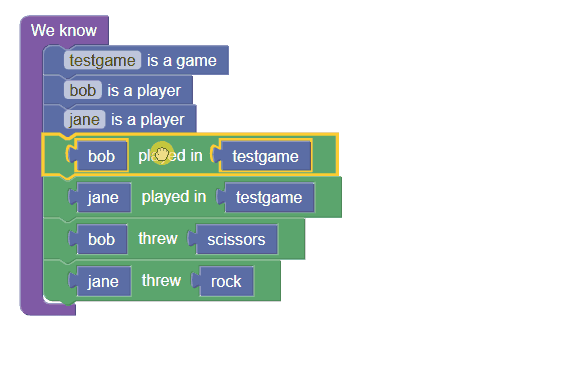
Usually, in Blawx, when blocks are connected vertically in a stack, that means that the statements are being combined with an "and". If you stack "jane threw rock" on top of "bob threw scissors", that means "jane threw rock and bob threw scissors."
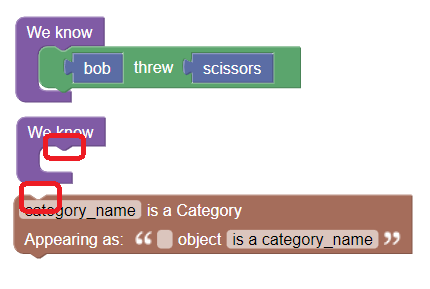
All inside vertical connectors are mandatory. If you don't have something in them, you have done something wrong. All top vertical connectors are also mandatory. If a statement is not connected at the top to something else, you have done something wrong. Only bottom vertical connectors are not mandatory.
Input Connectors
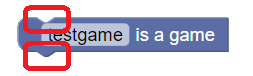
The other kind of connector is an input connector. This is the puzzle-piece shaped connector. A internal space where a block with an input connector can be added is called an "input". A block with an input connector on its left side can be placed in those input holes.
Inputs may expect certain kinds of information. For example, the math operation block accepts two number values, or variables. If you try to use an object selector, it will not "fit".
Inputs must be filled. If you don't have something connected to them, you have done something wrong.
Inputs grow to fit whatever is placed inside them, and blocks with an input connector can also have inputs inside them, forcing the outer blocks to grow more.
Dragging Blocks With the Mouse
If you select a block in the interface, and drag it to move it, you will move:
- the block that you clicked on
- any blocks vertically stacked below that block
- any blocks contained in that block (inside inputs or inside vertical connectors)
Deleting Blocks
If you delete a selected block by dragging it to the trash, you will delete all the blocks that were moved. If you delete a selected block by using the keyboard shortcut or context menu, only the selected block and any blocks it contains will be deleted.
If you only want to delete only one block from the middle of stack, use the keyboard shortcuts or the context menus.
If you delete a single block from the middle of a stack, the blocks below it will be moved up into its place, if that is allowed. If it is not allowed, the bottom of the stack will disconnect, and your code will be incorrect.
Keyboard Shortcuts
- CTRL-C - will copy the currently selected block and any blocks it contains
- CTRL-V - will paste the most recently copied block
- CTRL-Z - will undo the last change to the workspace
- CTRL-Y - will redo the last undone change to the workspace
- Delete - will delete the currently selected block and any blocks it contains
Note that the copy and paste commands will work between sections of the same Project, but they will not work between the code editor and the test editor, or between different test editors.
Context Menus
Right clicking on the workspace will give you a context menu with these options:
- Undo - undoes the most recent change to the workspace
- Redo - redoes the most recent change the workspace that was undone
- Clean Up Blocks - this will organize all outer blocks in a single column
- Collapse Blocks - this will collapse all outer blocks
- Expand Blocks - this will expand all outer blocks
- Delete X Blocks - this will delete all the blocks in the workspace
Right-clicking on an individual block will give you a context menu with these options:
- Duplicate - copies and pastes the selected block and any blocks it contains.
- Add Comment - allows you to add a text comment to the block
- Collapse/Expand - minimizes the appearance of the block, or expands the block out to its normal size
- Disable Block - marks the block as disabled. Disabled blocks are treated as though they are not in the workspace.
- Delete X Blocks - deletes the selected block and any blocks it contains
- Help - opens the Blawx documentation page for the current block type.
Comments
Adding comments to your blocks is a very good way of documenting your thinking in how you decided to encode the rules.